wjb
Nitrous
- Joined
- Dec 16, 2019
- Messages
- 1,333
- Location
- California No Longer!
- Ride
- 2008 Rocket III Touring 2002 Bonneville America
Detent Spring R&R
My excitement over buying a 2008 Rocket III Touring quickly turned to disappointment when I experienced troubles with the transmission. I didn’t notice a problem on my short test ride but shortly after getting the bike home I noticed some difficulties. The first indication that all was not well was when in 4th gear, when decelerating it would slip out of gear and into a false neutral. Shortly after that I noticed that it would jump into a false neutral while decelerating in any gear other than 5th.
I had read about the troublesome detent spring and deduced that it was the most likely cause of my problems. My first thought was to take it to my local Triumph dealer for repair but I quickly abandoned that idea (more on that later). So I ordered a new detent spring and front cover gasket from Triumph and waited for it to arrive.
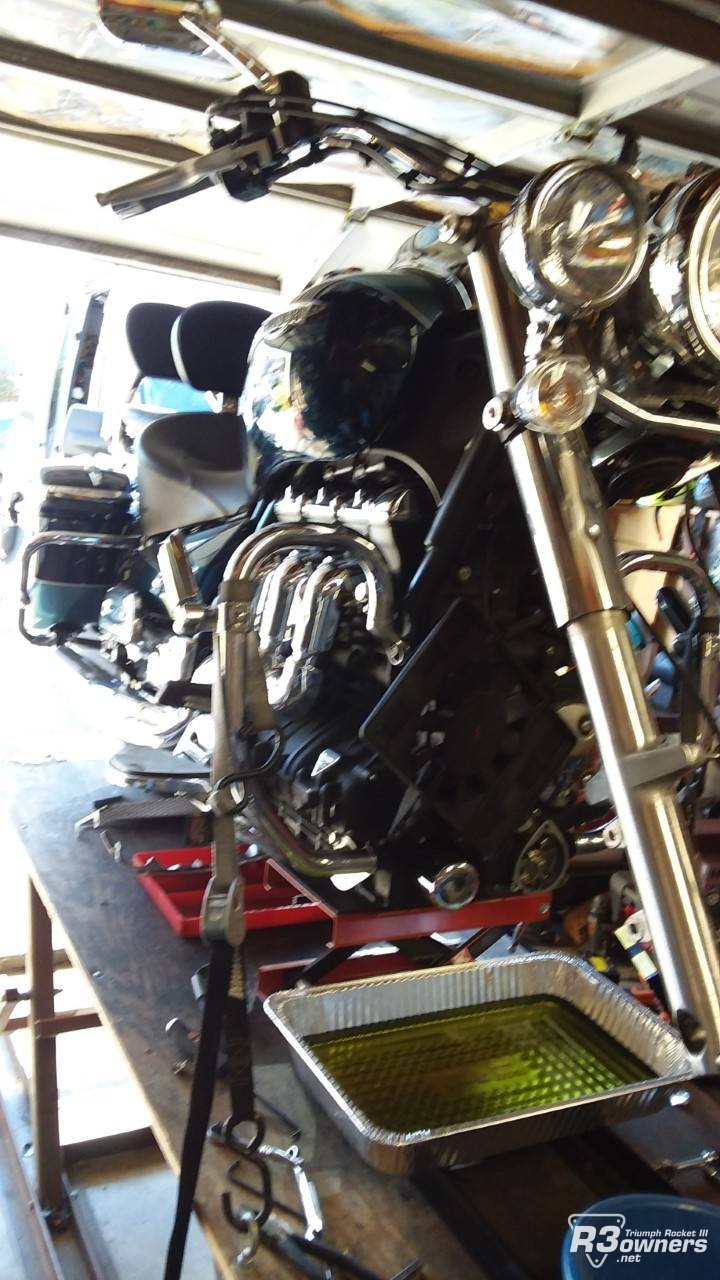
Many thanks to my friend Travis, a member of a local Christian MC, Soldiers for Jesus, who graciously allowed me to borrow his home-built motorcycle lift and also his wrenching abilities. And to forum member idk for his instructions on detent spring repair that I found in his signature link. I printed them out and followed them step by step. They were a great help.
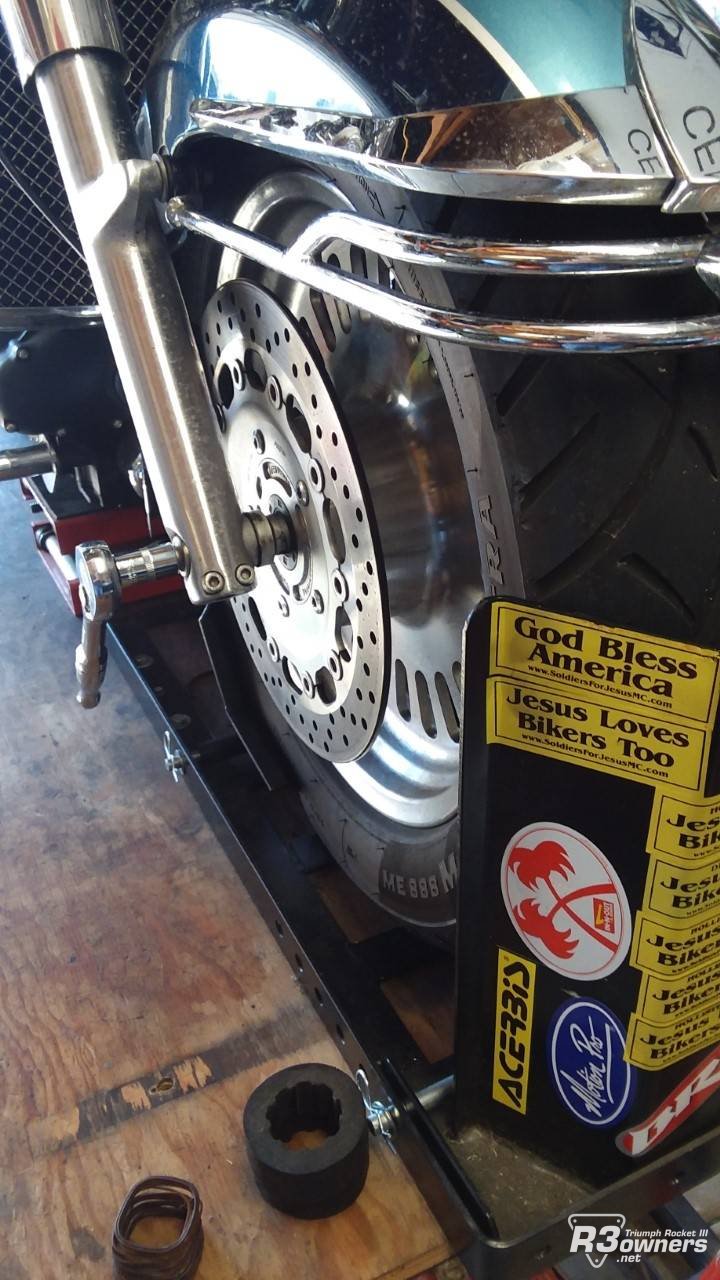
First I lifted my bike and removed the front wheel and fender.
I noted the position of the clutch arm so I could reinstall it in the same place but ended up leaving the arm in place and just removed the clutch cable from the arm.
Then I drained the coolant by removing the water pump cover and lower radiator hose.
After removing the radiator trim pieces (“embellishers” makes them sound so much more elegant) I used a couple of ratchet extensions to be able to reach and remove the lower radiator mounting bracket.
Most of the instructions will tell you to lift the tank and disconnect the radiator fan electrical connection so you can remove the radiator and fan as a unit but instead I removed the fan from the radiator because it seemed easier to remove the three bolts to free it from the radiator than to lift the tank.
I just draped the fan and it’s connecting wires over the crash bar.
Once the front cover is exposed I removed all 289 bolts that hold it on (it may not be quite that many) and gently pried off the front engine cover to expose the inner workings. If you look carefully you can see the broken remains of the detent spring lying on the bottom of the engine case.
Here’s a closer pic.
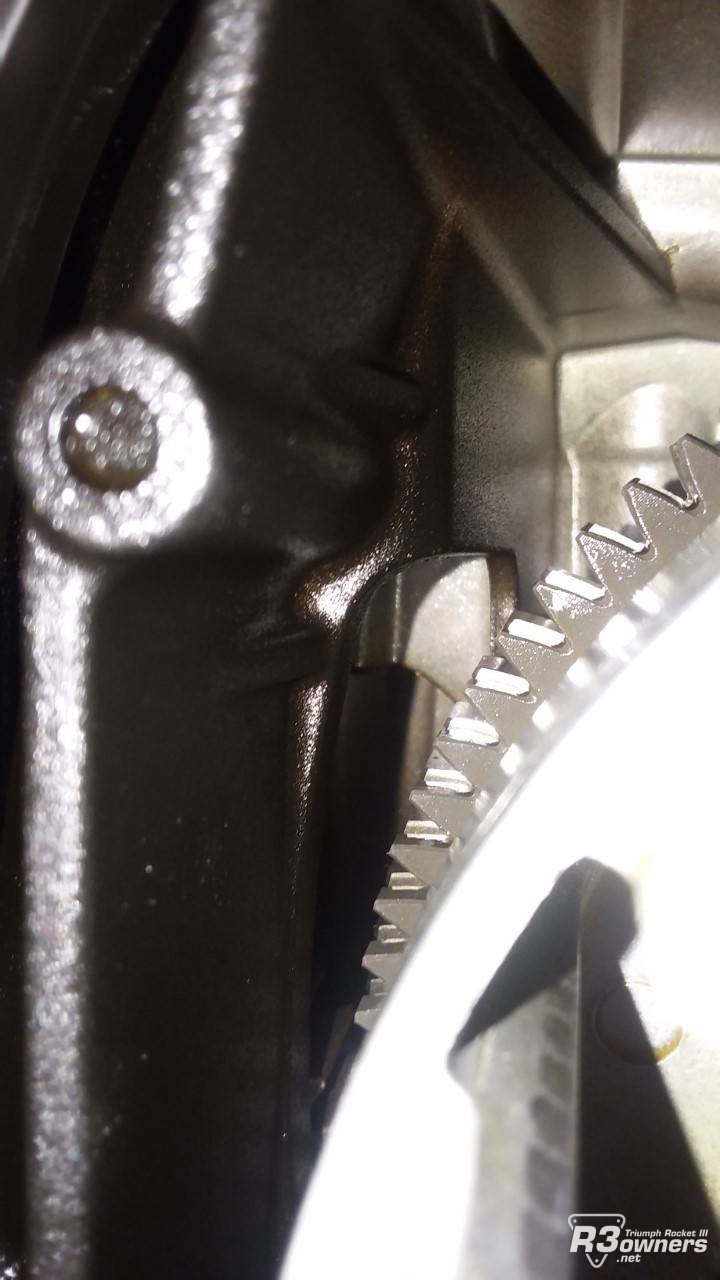
The spring is supposed to be attached to this small arm with the hole in it that is behind the clutch.
I removed the 5 bolts that hold the clutch hat and then removed the steel and fiber disks making sure that I could reinstall them in the exact order and orientation as they came out.
A video I watched about clutch removal mentioned that the anti judder components were difficult to remove but I didn’t find it to be hard. I just used my magnet tool and it made quick work of it. Two important things to make sure of: First, take note of the orientation of the two anti judder components so they can be reassembled in exactly the same orientation, and most importantly, ensure that you truly have the anti-judder spring, and not the uncle-judder spring! Uncle-judder springs are much more abrupt in their engagement.
My clutch actuator seems to be the early design but it showed no abnormal wear or problems of any kind so I did not update it.
Next is the part that I found to be most problematic of the whole operation. There are TWO separate gears on the clutch hub and they must be aligned to be able to mesh with the teeth on the crank. The clutch hub springs must be compressed for the teeth to be aligned. Some instructions say to use a blade type screwdriver and wedge it into the teeth of the gears to line them up but I wasn’t able to do that successfully. I ended up using the hole and slot that are in the clutch basket. Two smaller screwdrivers positioned correctly can compress the hub springs and align the teeth so they can mesh completely with the crank gear teeth. Next you need to engage the oil pump drive dogs into the recesses in the back of the clutch hub. I did this by using a pair of pliers to rotate the water pump drive shaft which is connected by chain to the oil pump drive. While turning the shaft and applying slight pressure to the clutch you will feel the clutch slide into the dogs.
Then it’s just a matter of replacing the clutch disks and reassembling everything in reverse order.
Here is the culprit. I think it cost 6 US dollars!
I noted above that I initially wanted to have the Triumph dealership do the repair. Here’s why I didn’t. I called and spoke to the service department and asked for an estimated cost of the repair. Their response? “That’s a pretty big job, that will cost 4 thousand dollars”! ! ! So this is a four thousand dollar spring!
The results are immediate and very satisfying as the bike shifts solidly and remains in gear. Also, neutral is now much easier to find.


 but as I recall I managed to get it approved as a goodwill warranty job by contacting Triumph myself (some of the Aussies will no doubt remember Chris at Triumph Australia). All of a sudden the dealer found a simpler way to do it.....
 , hope I'll never have to use it! But I know where to look now... Did you make a pic of the newly attached detent spring? I wonder where it is attached to.