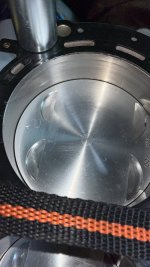
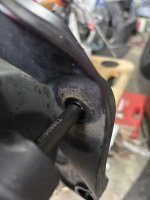
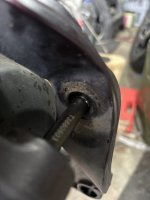
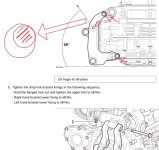
I thought about leaving the barrels in place and just hoping that the old gasket will hold. Dealer’s mechanic suggested that’s not the best choice. I guess he’s right, especially when these jobs are done first time by an amateur.
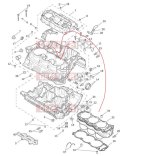
Finding best practices about rebuilding engines with removable cylinders blocks wasn’t easy. Below few links showing rebuilts by fitting cylinders from the bottom of the barrels
Hayabusa cylinder block install
Suzuki GSX 1100
Honda CB750Honda CB750 barrels uneven low
Yamaha XJR1300
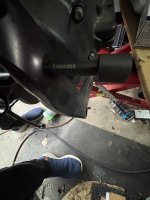
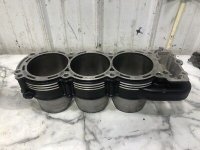
One note about rods side loading: best practice seems to be to level pistons first, lower barrels slowly then engage dowels. Now thinking if I need three sleeves. Or maybe side loading is more theoretical and one sleeve would do.


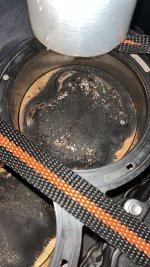
") . Taking into account the asphalt I found and cleaned I reckon mine’s better. It seems this tractor needs deep cleaning on a regular basis. I am also thinking about flushing the engine and open it every 60000 Km. The design is annoying because once yo need to work on the head then you need to peel it like an onion and it’s **** expensive. I am seriously considering different bikes for the future. But once rejuvenated and well maintained this one will run until it melts down.
. Taking into account the asphalt I found and cleaned I reckon mine’s better. It seems this tractor needs deep cleaning on a regular basis. I am also thinking about flushing the engine and open it every 60000 Km. The design is annoying because once yo need to work on the head then you need to peel it like an onion and it’s **** expensive. I am seriously considering different bikes for the future. But once rejuvenated and well maintained this one will run until it melts down. 