Detent spring and clutch cover gasket were all the parts I purchased for my repair. I used a small amount of gasket cement on the cover gasket but that was just to make sure that it would stay in place while I replaced the cover.


I can definitely imagine your disappointment because I well remember the relief when I saw the empty space where the detent spring should have been. Hope you get yours sorted out soon.
Actually I just put it back together after lubing the detent bearing and it's been fine ever since, how's that for a kick in the head! I put both the water pump O-rings in also and replaced the WP hoses.
 
Detent Spring R&R


My excitement over buying a 2008 Rocket III Touring quickly turned to disappointment when I experienced troubles with the transmission. I didn’t notice a problem on my short test ride but shortly after getting the bike home I noticed some difficulties. The first indication that all was not well was when in 4th gear, when decelerating it would slip out of gear and into a false neutral. Shortly after that I noticed that it would jump into a false neutral while decelerating in any gear other than 5th.


I had read about the troublesome detent spring and deduced that it was the most likely cause of my problems. My first thought was to take it to my local Triumph dealer for repair but I quickly abandoned that idea (more on that later). So I ordered a new detent spring and front cover gasket from Triumph and waited for it to arrive.


Many thanks to my friend Travis, a member of a local Christian MC, Soldiers for Jesus, who graciously allowed me to borrow his home-built motorcycle lift and also his wrenching abilities. And to forum member idk for his instructions on detent spring repair that I found in his signature link. I printed them out and followed them step by step. They were a great help.


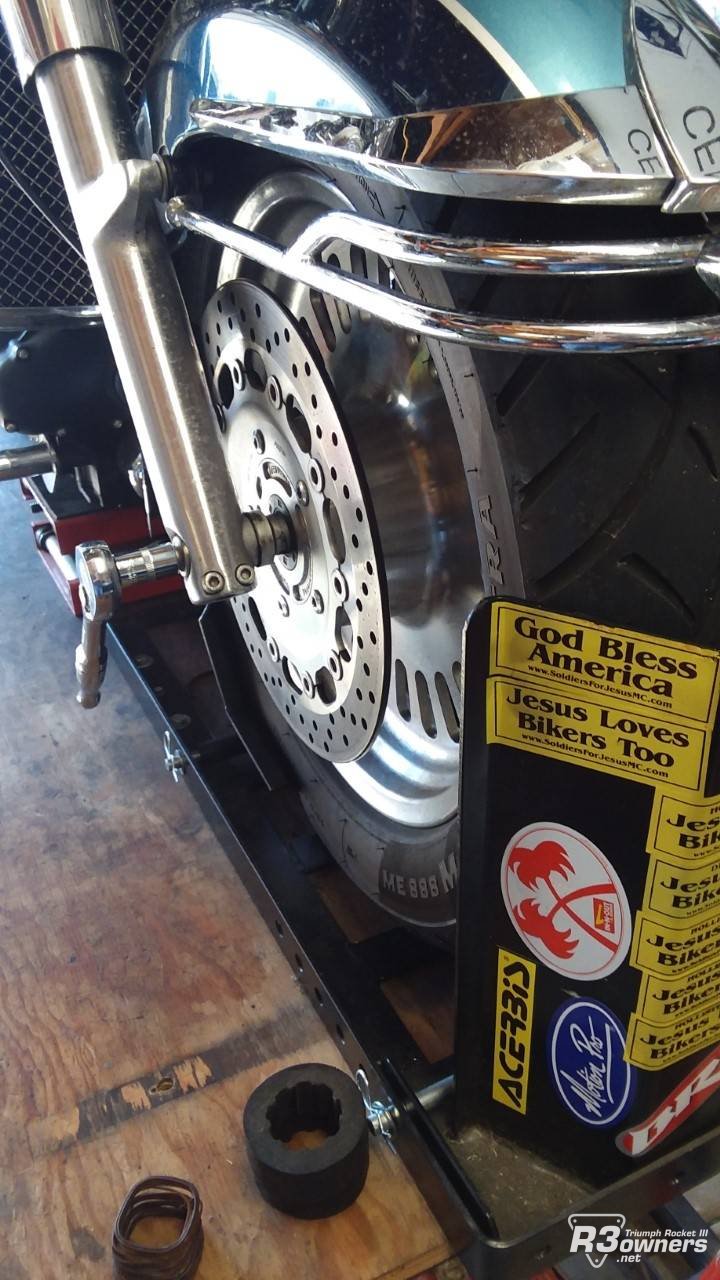
First I lifted my bike and removed the front wheel and fender.


I noted the position of the clutch arm so I could reinstall it in the same place but ended up leaving the arm in place and just removed the clutch cable from the arm.


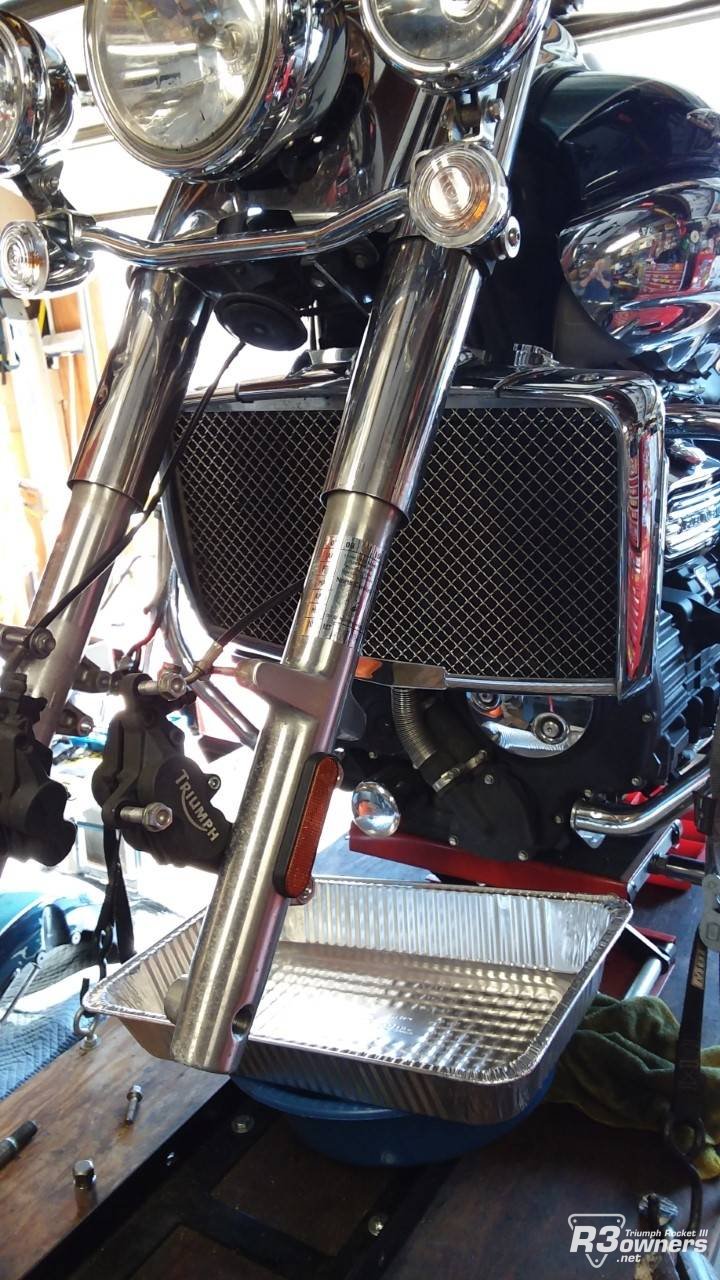
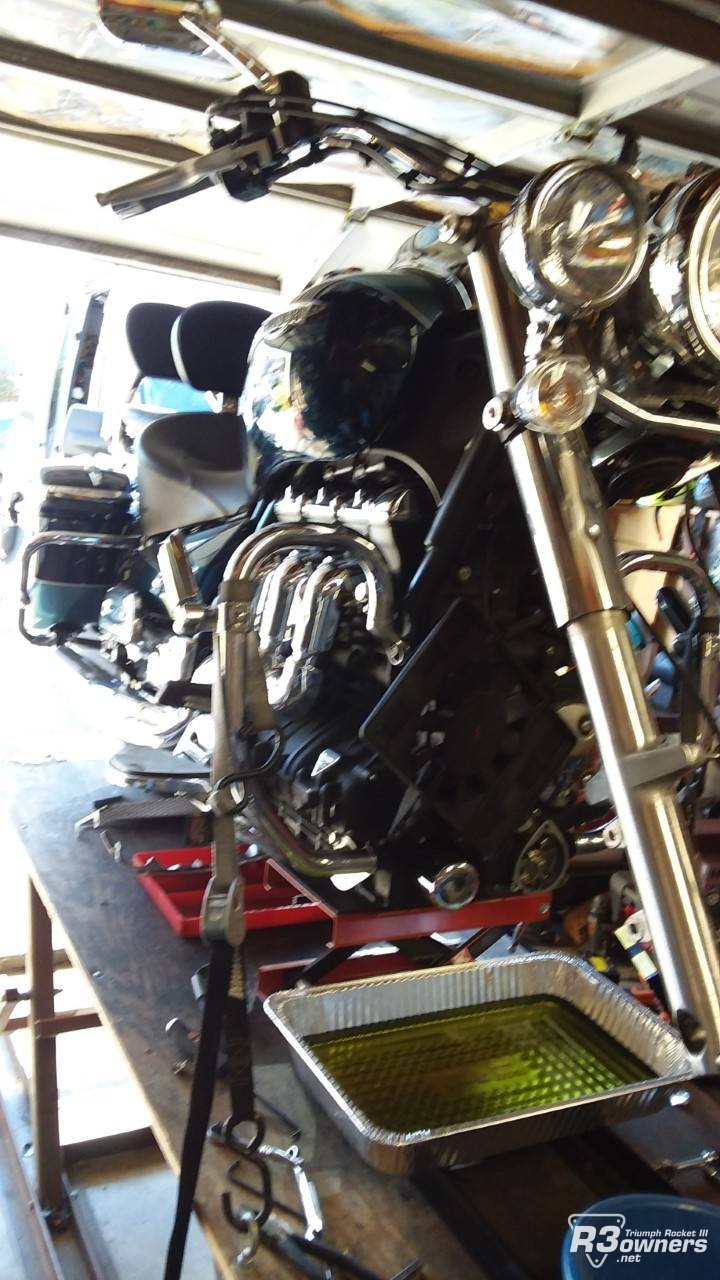
Then I drained the coolant by removing the water pump cover and lower radiator hose.


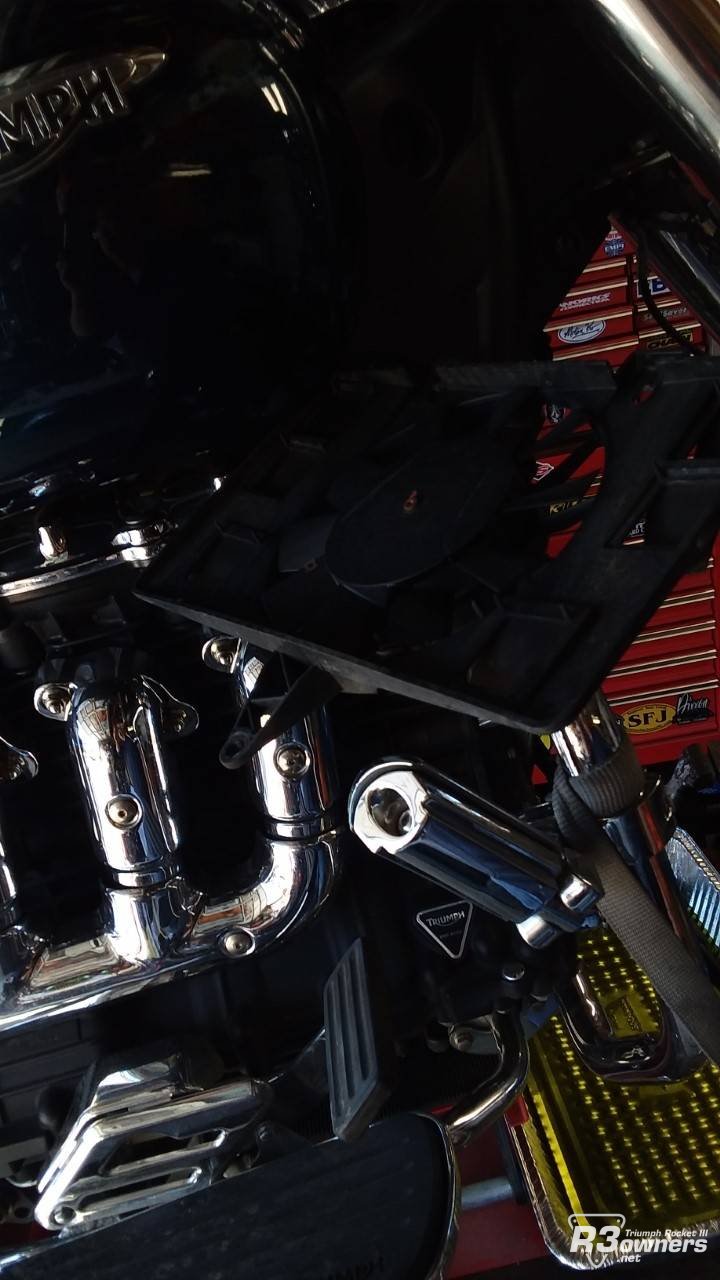
After removing the radiator trim pieces (“embellishers” makes them sound so much more elegant) I used a couple of ratchet extensions to be able to reach and remove the lower radiator mounting bracket.


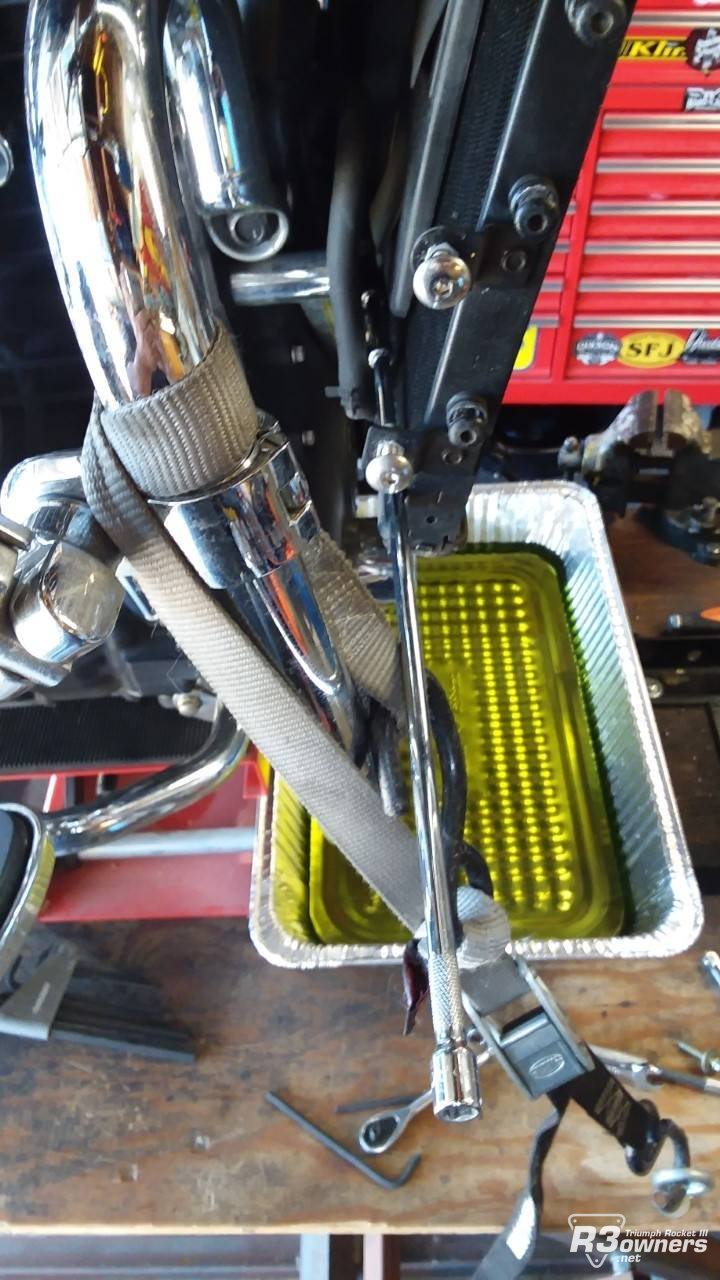
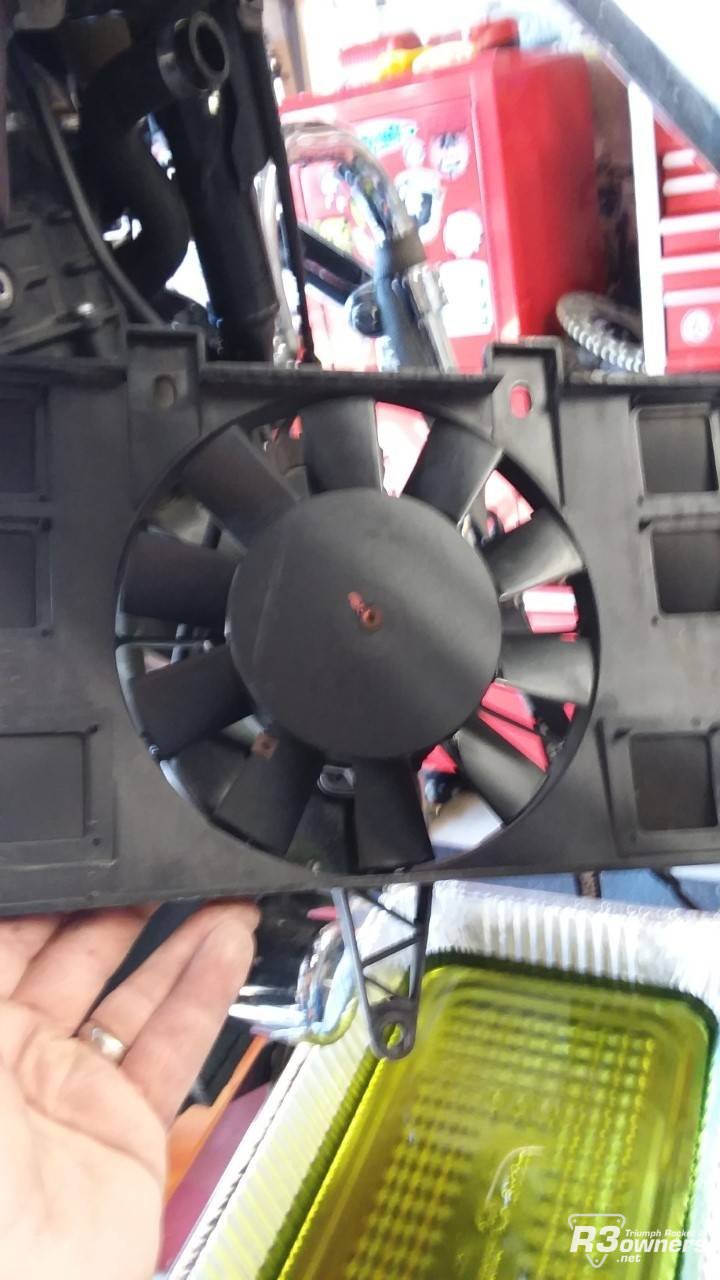
Most of the instructions will tell you to lift the tank and disconnect the radiator fan electrical connection so you can remove the radiator and fan as a unit but instead I removed the fan from the radiator because it seemed easier to remove the three bolts to free it from the radiator than to lift the tank.


I just draped the fan and it’s connecting wires over the crash bar.


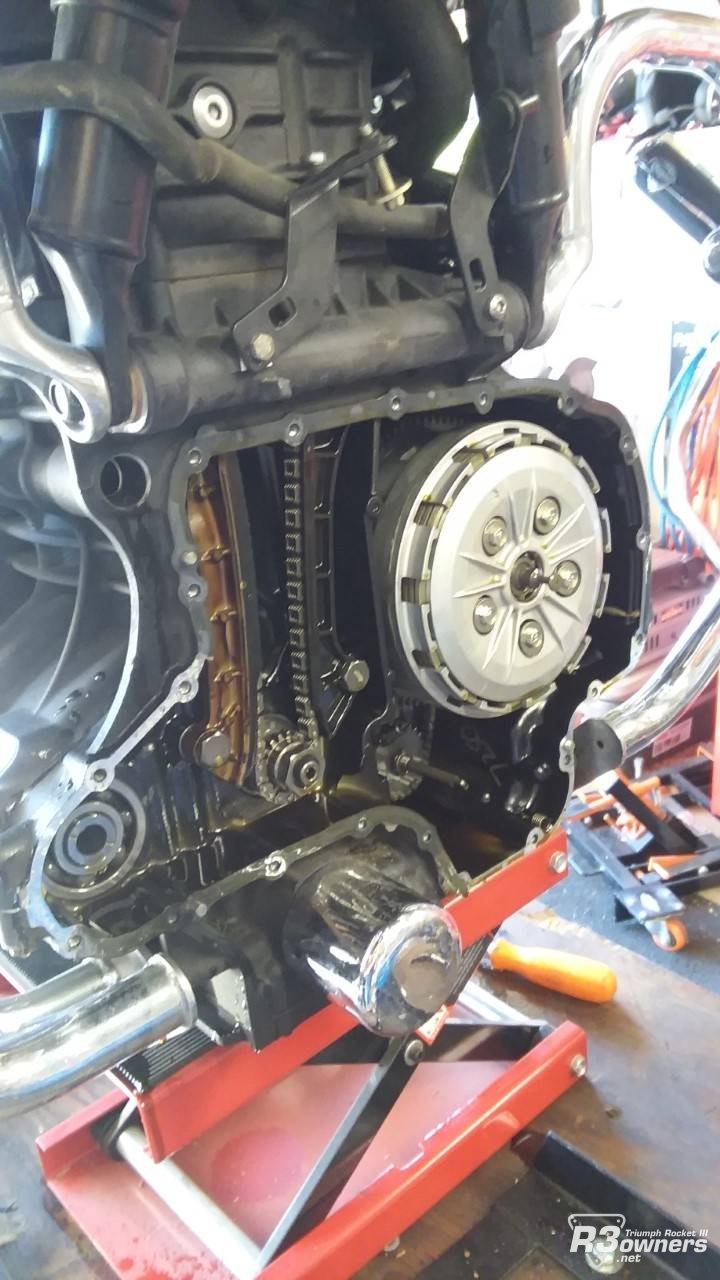
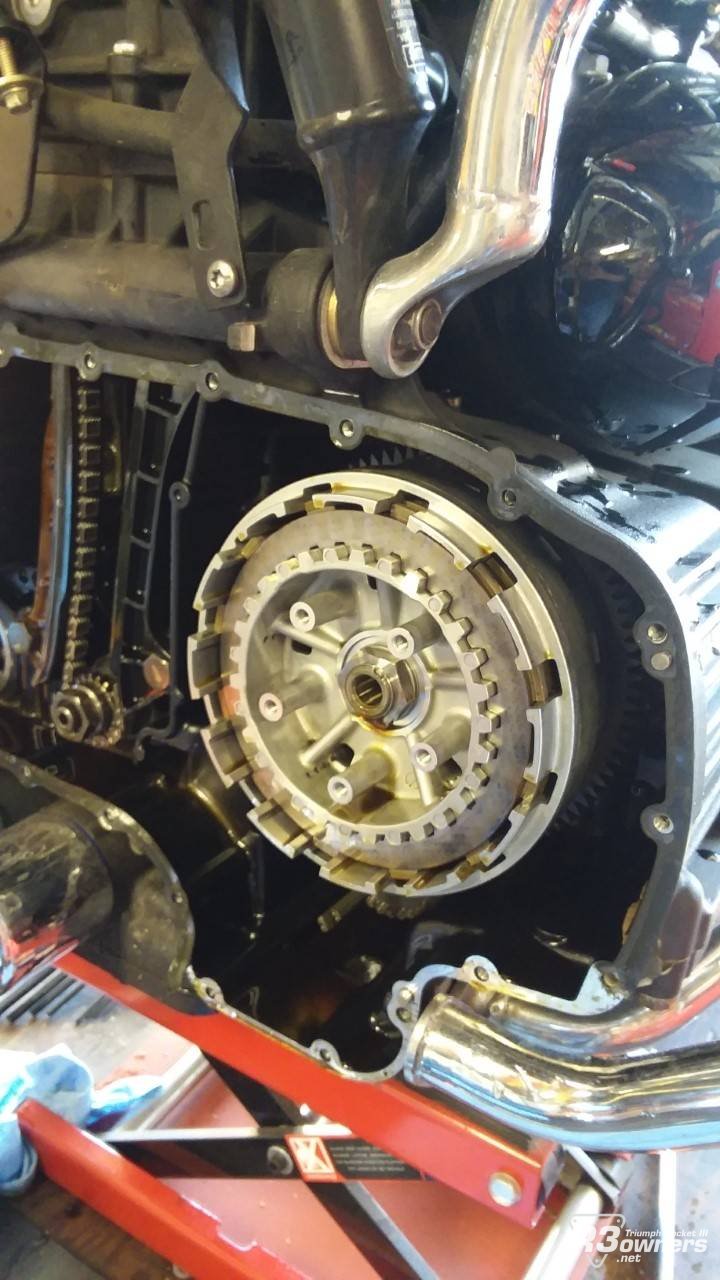
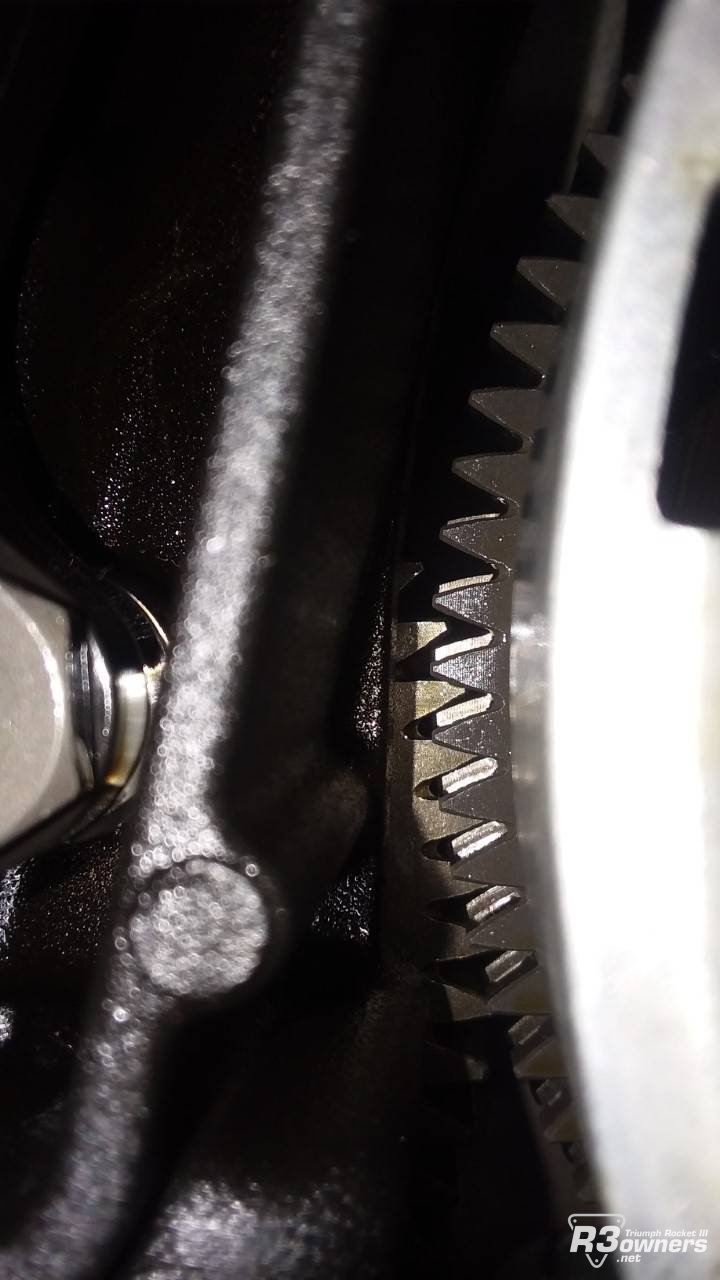
Once the front cover is exposed I removed all 289 bolts that hold it on (it may not be quite that many) and gently pried off the front engine cover to expose the inner workings. If you look carefully you can see the broken remains of the detent spring lying on the bottom of the engine case.


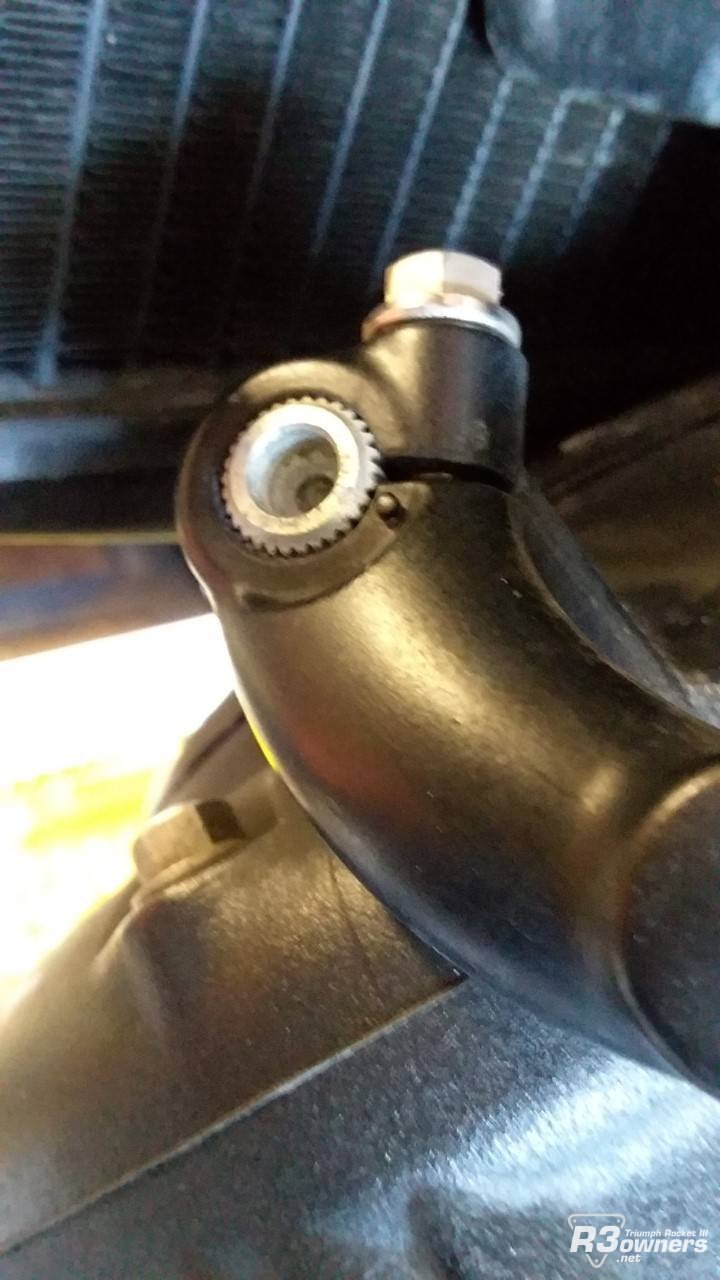
Here’s a closer pic.


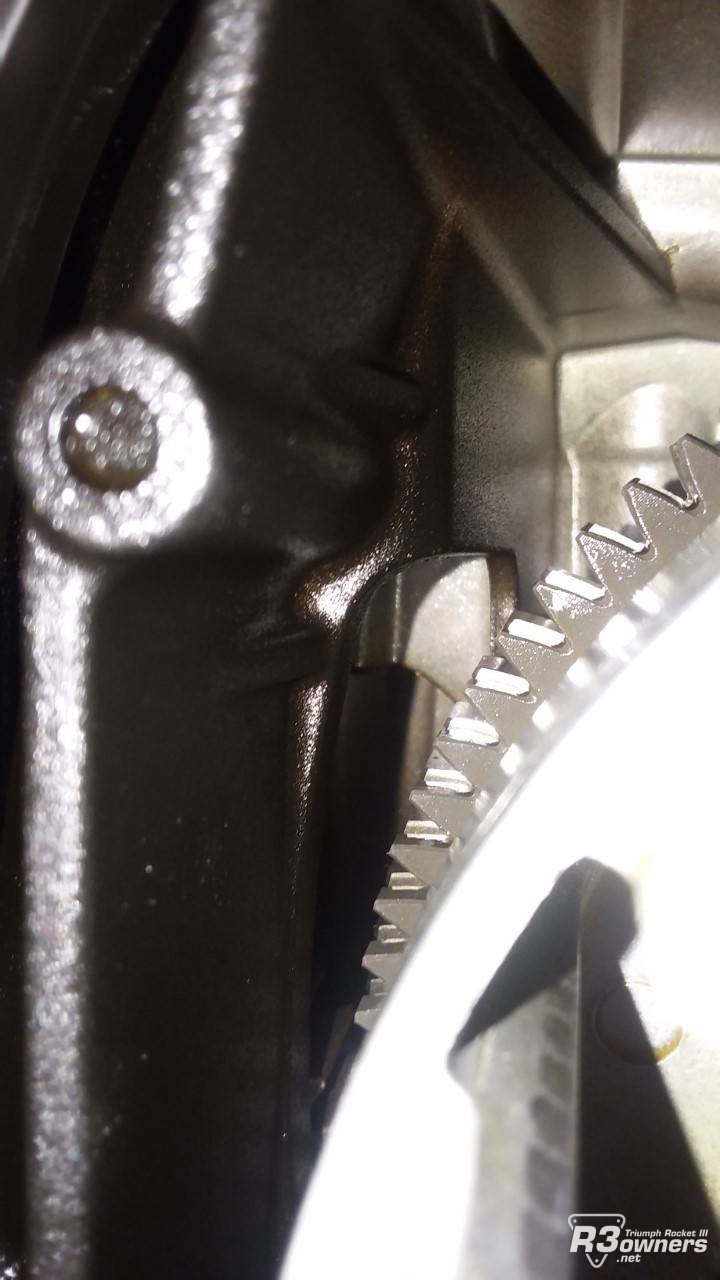
The spring is supposed to be attached to this small arm with the hole in it that is behind the clutch.


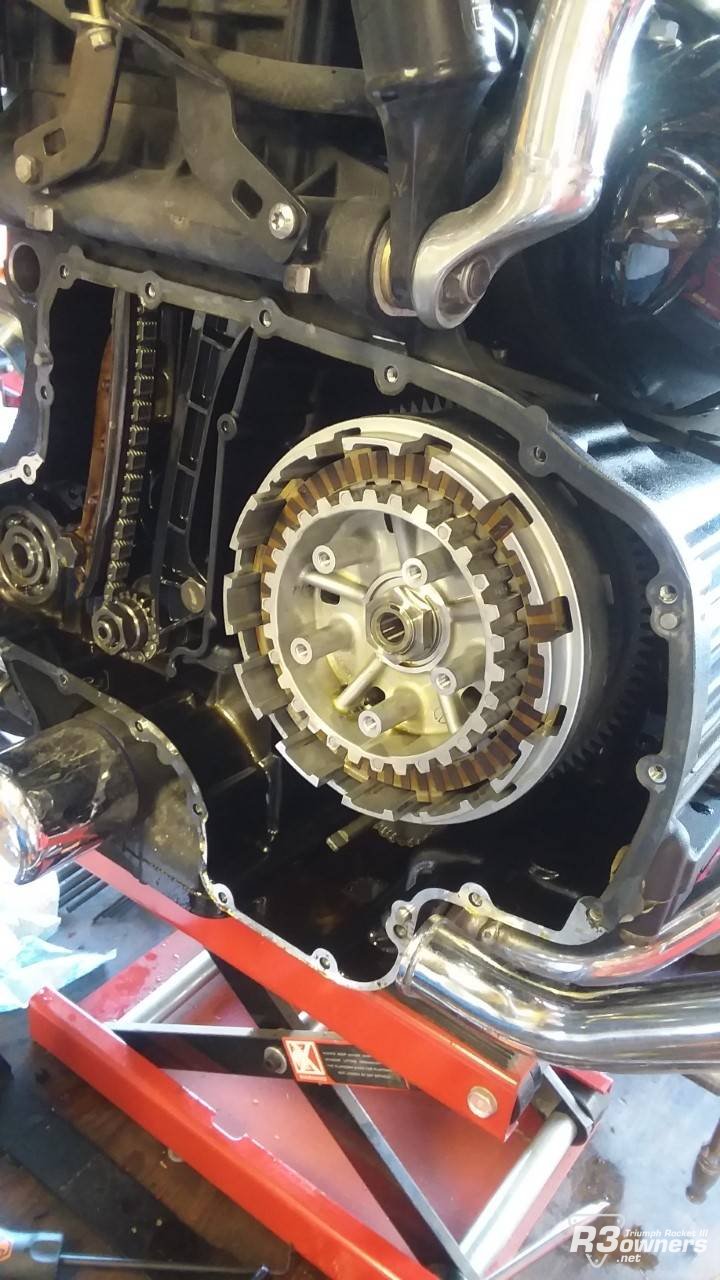
I removed the 5 bolts that hold the clutch hat and then removed the steel and fiber disks making sure that I could reinstall them in the exact order and orientation as they came out.


A video I watched about clutch removal mentioned that the anti judder components were difficult to remove but I didn’t find it to be hard. I just used my magnet tool and it made quick work of it. Two important things to make sure of: First, take note of the orientation of the two anti judder components so they can be reassembled in exactly the same orientation, and most importantly, ensure that you truly have the anti-judder spring, and not the uncle-judder spring! Uncle-judder springs are much more abrupt in their engagement. :)


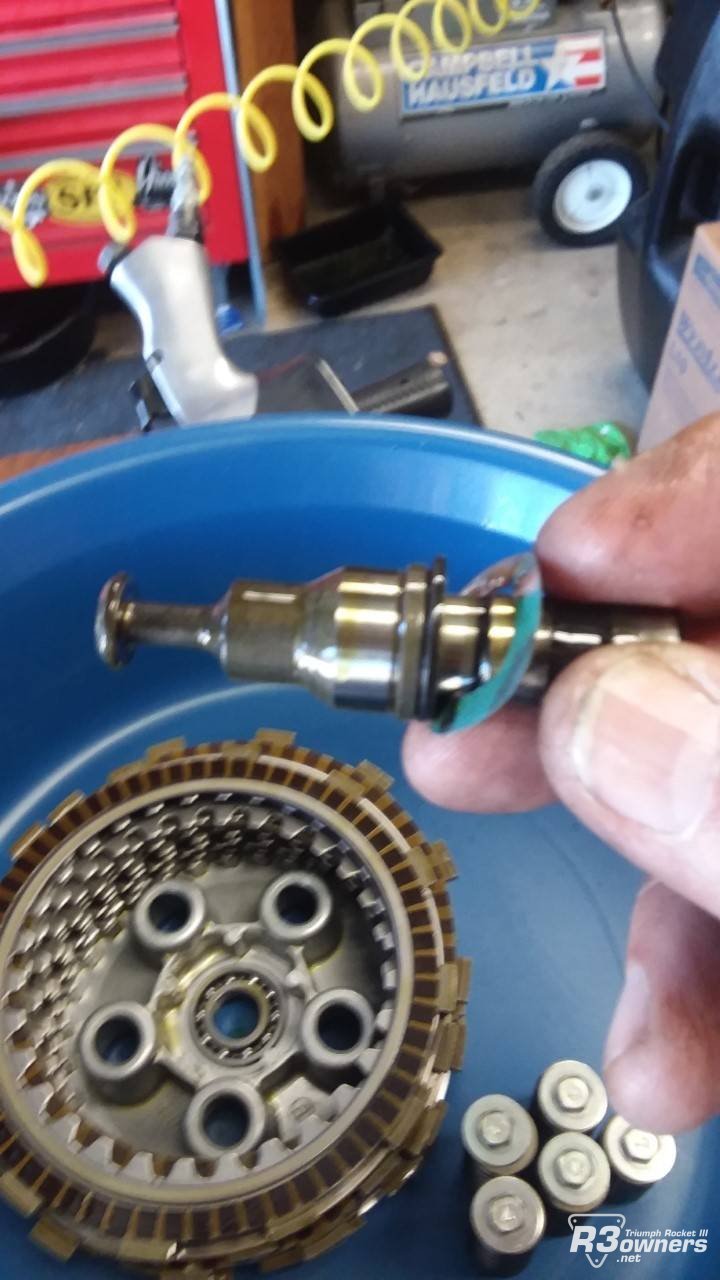
My clutch actuator seems to be the early design but it showed no abnormal wear or problems of any kind so I did not update it.


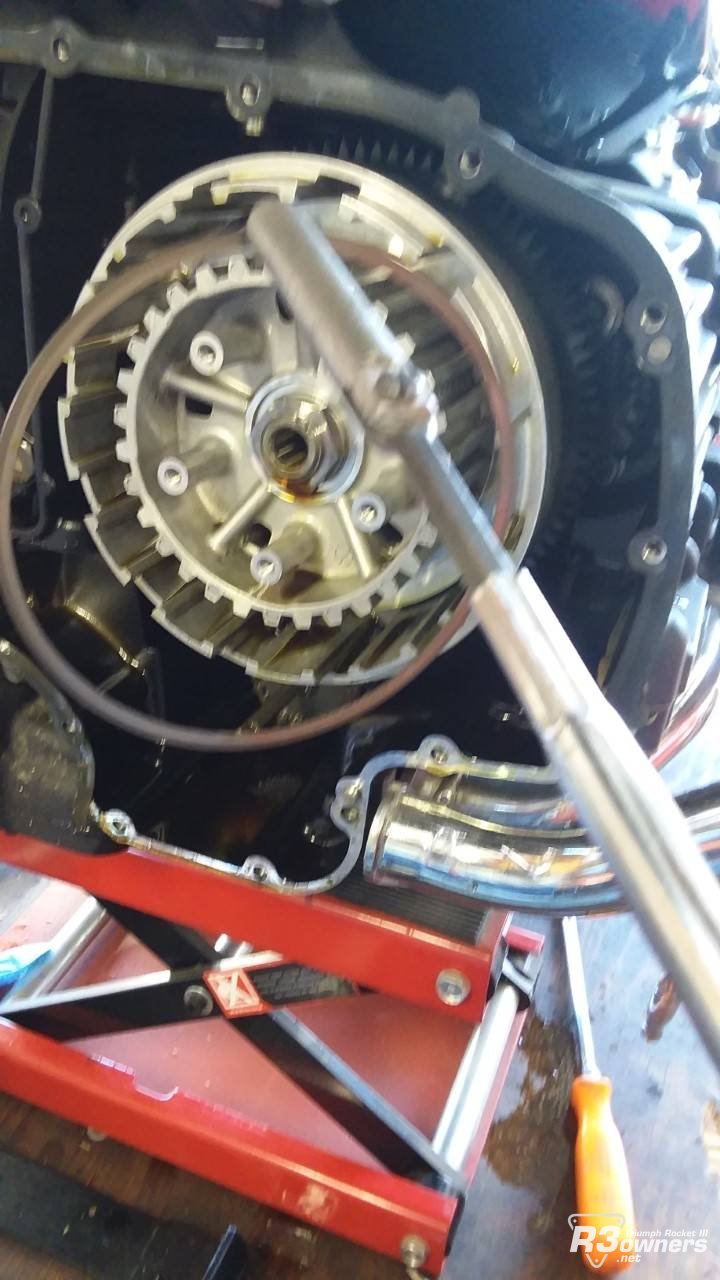
Next is the part that I found to be most problematic of the whole operation. There are TWO separate gears on the clutch hub and they must be aligned to be able to mesh with the teeth on the crank. The clutch hub springs must be compressed for the teeth to be aligned. Some instructions say to use a blade type screwdriver and wedge it into the teeth of the gears to line them up but I wasn’t able to do that successfully. I ended up using the hole and slot that are in the clutch basket. Two smaller screwdrivers positioned correctly can compress the hub springs and align the teeth so they can mesh completely with the crank gear teeth. Next you need to engage the oil pump drive dogs into the recesses in the back of the clutch hub. I did this by using a pair of pliers to rotate the water pump drive shaft which is connected by chain to the oil pump drive. While turning the shaft and applying slight pressure to the clutch you will feel the clutch slide into the dogs.


Then it’s just a matter of replacing the clutch disks and reassembling everything in reverse order.


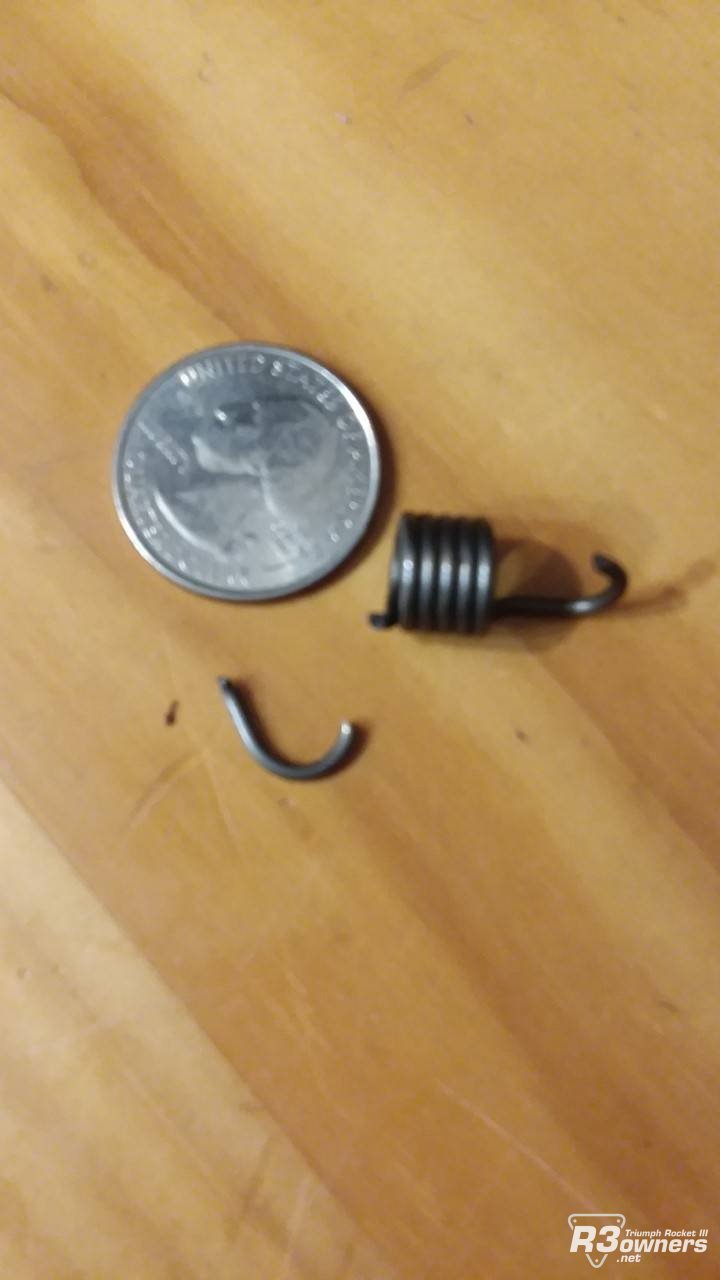
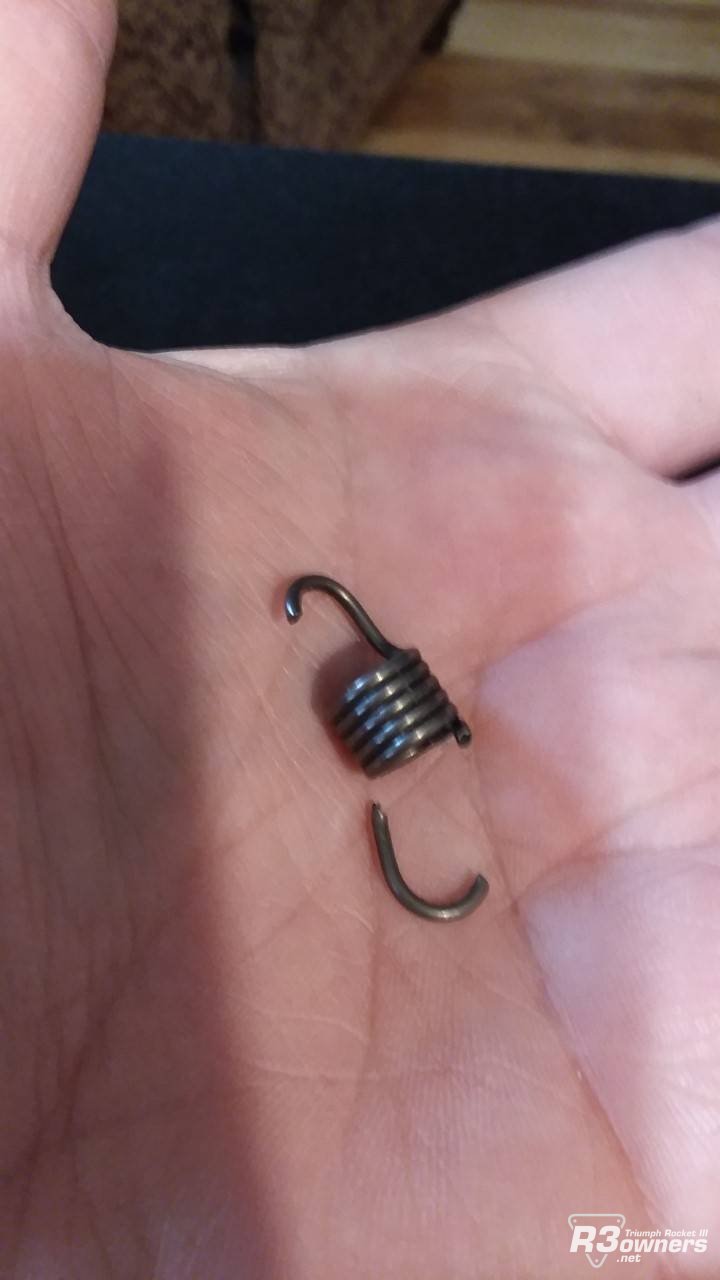
Here is the culprit. I think it cost 6 US dollars!


I noted above that I initially wanted to have the Triumph dealership do the repair. Here’s why I didn’t. I called and spoke to the service department and asked for an estimated cost of the repair. Their response? “That’s a pretty big job, that will cost 4 thousand dollars”! ! ! So this is a four thousand dollar spring!


The results are immediate and very satisfying as the bike shifts solidly and remains in gear. Also, neutral is now much easier to find.
Am i missing the clutch removal part to get to spring? How did you remove the nut that holds it on?
 
Am i missing the clutch removal part to get to spring? How did you remove the nut that holds it on?
Impact if you're talking about removing the 22 mm clutch basket nut. The rattle gun works well. Oh and if you have leftover old fibers and steel you can make you own tool by drilling and bolting a few together. I've done that used the triumph cheap plastic tool and rattle gun nut on and off. Now I only use the rattle gun :)
 
Impact if you're talking about removing the 22 mm clutch basket nut. The rattle gun works well. Oh and if you have leftover old fibers and steel you can make you own tool by drilling and bolting a few together. I've done that used the triumph cheap plastic tool and rattle gun nut on and off. Now I only use the rattle gun :)
I got the EBC clutch tool to hold it for the impact, quality steel tool that works well.
 
After yesterdays ride it would appear that I am about to perform this repair too. Had a quick chat to my local little bike shop today, He's not real keen to do it and says about 1k to do it if he has to. Now I just need to work out the best place to get parts from here in Aus. I'd love a physical workshop manual but it looks like all that's available are the E-manuals.
 
After yesterdays ride it would appear that I am about to perform this repair too. Had a quick chat to my local little bike shop today, He's not real keen to do it and says about 1k to do it if he has to. Now I just need to work out the best place to get parts from here in Aus. I'd love a physical workshop manual but it looks like all that's available are the E-manuals.
I have both. The good thing about the E file is you can print off the pertinent pages and once you done throw the dirty sheets away. If you find a post by IDK in his signature he has a "how to in the detent spring." Step by step instructions. I haven't looked it it because I am versed in rocket wrenching. It will take you about 4 hours. I've torn into the engine before so if I was to go at it hard I think I can get darn close to two hours and test riding.
 
I have both. The good thing about the E file is you can print off the pertinent pages and once you done throw the dirty sheets away. If you find a post by IDK in his signature he has a "how to in the detent spring." Step by step instructions. I haven't looked it it because I am versed in rocket wrenching. It will take you about 4 hours. I've torn into the engine before so if I was to go at it hard I think I can get darn close to two hours and test riding.
After yesterdays ride it would appear that I am about to perform this repair too. Had a quick chat to my local little bike shop today, He's not real keen to do it and says about 1k to do it if he has to. Now I just need to work out the best place to get parts from here in Aus. I'd love a physical workshop manual but it looks like all that's available are the E-manuals.
I am just about to close mine back up. It was rather easy. I will calculate my cost, but if you have the time and the tools do it yourself. Around $7 USD for the detent spring; I bought a cover gasket around $15 USD but may not need one; I didn't save the coolant or the oil and filter, so factor in that cost.

"IDK" instructions were spot on and "wjb's" imagines helped out a lot. Thank you! The main issue I had was the 22mm centre nut to the input shaft. I purchased an impact wrench (winding gun?); that got the job done in seconds. I didn't have the Triumphs clutch tool, but next time I will get it. Try engaging the rear brake; the nut may come off easier if not using an impact wrench. Threads are counter-clock-wise. And like everyone had issues, pre-Ioading and align the primary gear and backlash eliminator with the crank gear. You need to make sure the oil pump drive pegs with the corresponding holes in the rear of the clutch outer drum before it will drop completely in.

The manual when you get it shows you an alignment hole in drum.

Seated gears.
gears.jpg

Tool I used to keep from damaging or weakening spring. Slid right on.
tool for detent.jpg

Detent installed
detent.jpg
 
After yesterdays ride it would appear that I am about to perform this repair too. Had a quick chat to my local little bike shop today, He's not real keen to do it and says about 1k to do it if he has to. Now I just need to work out the best place to get parts from here in Aus. I'd love a physical workshop manual but it looks like all that's available are the E-manuals.

I believe these guys will ship international but may be a little slow.

This place (local to me) got me the part the next day. I picked them up. Let me know if you have issues. I might be able to get them shipped to you if its legal to do so.
 
Impact if you're talking about removing the 22 mm clutch basket nut. The rattle gun works well. Oh and if you have leftover old fibers and steel you can make you own tool by drilling and bolting a few together. I've done that used the triumph cheap plastic tool and rattle gun nut on and off. Now I only use the rattle gun :)

I have an older model torque wrench that is missing it's plastic needle. How important is applying the 105 Nm (77.44 ft lbs) on the 22 mm clutch basket nut?
torque wrench.jpg
 
I use a impact to remove my nut after making its location. Then when going back together I use the rattle gun to put it back in the exact place it was when I started it. Then I stake it. I hope that is not the torque wrench you used to set the torque on the spring tower bolts.
 
Back
Top