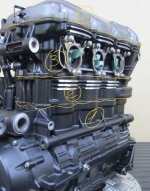
IF (?) it IS possible to go from underneath that would be the easy way, for certain. As far as a shop, what you see in the photos is a 10 x 12 shed with just a small area of that devoted to the bike. I did have support running to the ceiling- the janky looking jack stands were not all. Without overhead support I would just make sure you setup a
fail safe support system with enough room for you to work from below.
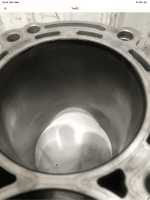
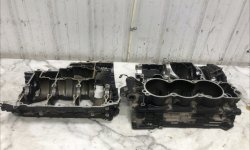
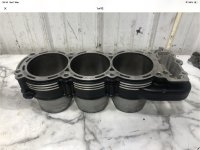
@warp9.9 advised me on how to go in from underneath (thanks, again, Warp) and Neville Lush said there was no need to replace those liners, which would have been a whole 'nother can of worms

")
 live in the past! Got it!