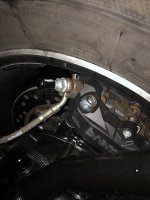
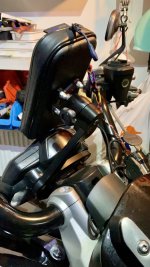
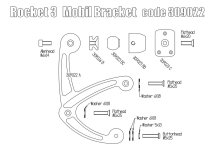
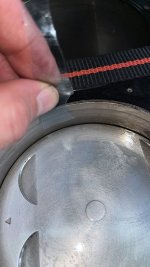
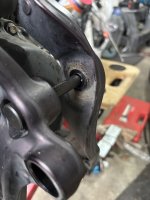
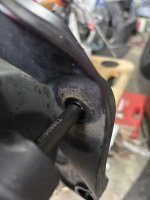
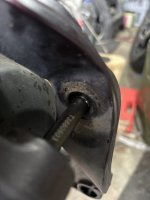
Trying to fit the drop link alignment pin, just playing with tools. Surprise. The drop link looks offset. The alignment pin’s head fits very tight into the large hole but doesn’t align with the smaller hole. From the opposite side the shaft fits quite loose, there’s enough play to feel it. Now wondering if I need to loose and realign the drop link too. With this bike it seems the more you dismantle the more you get to fix.
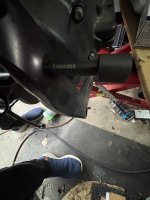
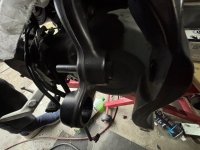
Second thought: maybe is meant to be like this. The manual says to pull diagonally back and up when installing the drop link. Maybe that’s to ensure the bolts shafts seat firmly the surface of the holes when the bike stays on its wheels under own weight… and the joints don’t move. Anybody went this far yet?